Water is the most critical input on any farm. Livestock can survive for weeks without supplementary feed in some circumstances, but without access to clean, reliable water, production collapses and death follows within days. Yet water infrastructure is one of…
Water is the most critical input on any farm. Livestock can survive for weeks without supplementary feed in some circumstances, but without access to clean, reliable water, production collapses and death follows within days. Yet water infrastructure is one of the most frequently underinvested areas on small farms — makeshift troughs, unreliable supply systems, and poor placement are endemic on lifestyle blocks and small-scale farms across Australia.
Setting up your water troughs properly from the start is one of the highest-return investments you can make. A well-designed trough system reduces your daily labour, ensures livestock always have access to what they need, and can dramatically improve animal health and production. This guide covers everything you need to know: trough types, sizing, placement, pipework, float valves, frost and algae management, installation steps, and the common mistakes that cost farmers time and money.
Why Water Infrastructure Matters More Than You Think
Before getting into the practical detail, it's worth understanding the scale of water's importance to livestock production:
- A dry ewe in summer drinks 4–6 litres per day; a lactating ewe up to 8–10 litres
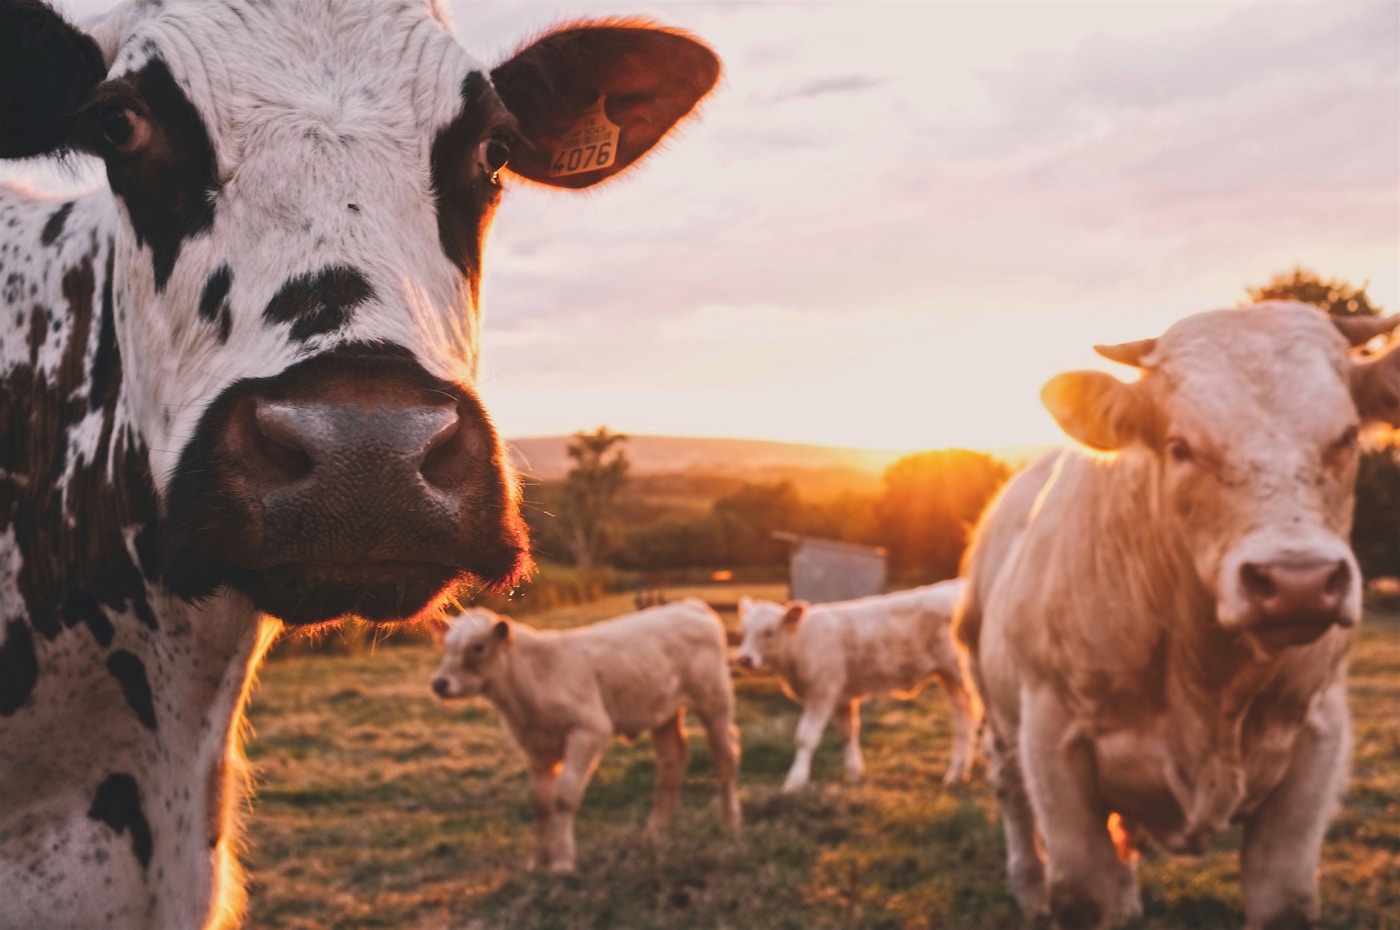
- A beef cow drinks 40–70 litres per day in mild weather; up to 100+ litres in summer
- A dairy cow in production drinks 80–120 litres per day
- Pigs (50 kg) drink 8–12 litres per day
- Horses drink 30–50 litres per day
Even a brief interruption to water access — a broken float valve, a frozen pipe, an empty tank — can cause immediate drops in production, increased disease susceptibility, and in extreme heat, death within hours.
The three most common water system failures on small farms: 1. Float valves that jam open or closed without being checked 2. Pipes that crack in frost or UV-degrade in sun over time 3. Troughs positioned too far from the water source with insufficient pressure
All three are preventable with proper system design and regular maintenance.
Choosing the Right Trough Type
Trough selection depends on the species you're watering, the number of animals, the water source pressure, and your budget. Australian farms use several main categories:
Round and Oval Poly Troughs
Polyethylene (poly) troughs are the dominant choice on Australian small farms. Durable, UV-stabilised, lightweight for their size, and resistant to rust and rot, poly troughs come in a wide range of sizes from 100 litres up to 3,000 litres.
Advantages: - Low maintenance — no rust, no rot, easy to clean - UV-stabilised for Australian sun exposure - Wide range of sizes - Can be repositioned if needed - Relatively affordable
Disadvantages: - Less stable than concrete; can be tipped by large animals if not secured - Lighter troughs may be pushed around by cattle or horses - Not ideal for permanent fixed installations in high-traffic areas
Common sizes: - 200L: Suitable for 4–8 sheep or goats - 400L: 10–20 sheep or 4–6 cattle - 600–800L: 20–40 sheep or 6–10 cattle - 1,000L+: Larger mobs or longer intervals between filling
Galvanised Steel Troughs
Galvanised steel troughs are a traditional and still-popular option, particularly in rural farm settings. They're robust, low-profile, and well-suited to larger animals.
Advantages: - Very stable — difficult for large animals to tip - Long service life with good zinc coating - Good for cattle and horses - Can be custom-fabricated to any length
Disadvantages: - Rust over time, particularly at welds and where galvanising is worn - Heavier to move - Can become very hot in direct summer sun — relevant for water temperature - May impart metallic taste to water if galvanising is degraded
Concrete Troughs
Concrete troughs are the most durable and permanent option. Common on established farms, they are effectively permanent infrastructure.
Advantages: - Effectively permanent with minimal maintenance - Excellent stability - Stay cooler than metal troughs in summer - Can be custom-built to any size - Excellent for high-density cattle or horse operations
Disadvantages: - Not moveable once set - High initial cost if poured in situ - Algae can be harder to remove from porous concrete - May leach lime into water for the first few months (raises pH)
Concrete Precast Troughs
Available from concrete product manufacturers, precast troughs are delivered and placed by crane or telehandler. A good middle-ground between custom poured concrete and poly — durable and permanent but with controlled manufacturing quality.
Temporary and Portable Troughs
For rotational grazing systems or temporary paddocks, portable poly troughs (100–200L) filled from a tanker or pumped from a larger trough via a hose are widely used. Some systems use flexible rubber troughs that can be folded and carried.
Sizing Your Troughs Correctly
Undersized troughs are a common and costly mistake. The trough needs to supply not just the daily demand but also provide a buffer for peak consumption times and for the gap between automatic refills.
Rule of Thumb: Trough Capacity by Species
| Species | Daily Water Need (approx.) | Minimum Trough Space (cm of trough edge per animal) |
|---|---|---|
| Merino ewe (dry) | 4–6L | 2–3 cm |
| Merino ewe (lactating) | 8–10L | 3–4 cm |
| Beef cow (dry) | 40–70L | 8–10 cm |
| Beef cow (lactating) | 70–100L | 10–15 cm |
| Horse | 30–50L | 15–20 cm |
| Goat (dry) | 3–5L | 2–3 cm |
| Pig (50 kg) | 8–12L | 4–6 cm |
The "trough edge" (linear access) figure matters because animals compete for access. A trough with enough volume but insufficient perimeter means dominant animals block access for subordinate ones.
Calculating Trough Size
A simple formula:
Required trough capacity (litres) = Number of animals × Daily consumption × 1.5 (safety buffer)
For 50 dry Merino ewes in summer: 50 × 6L × 1.5 = 450L minimum trough capacity (assuming automatic refill)
For the same mob without automatic refill (filled once daily): 50 × 6L = 300L minimum (but filling once daily in 35°C is risky — twice daily or automatic is better)
In hot Australian summers, increase the daily consumption figure by 50–100% for more accurate calculations.
Trough Placement: Getting the Location Right
Where you put a trough has enormous consequences for pasture management, animal health, and labour.
Distance from Water Source
Trough placement is constrained by available water pressure. Gravity-fed systems from elevated tanks have a pressure of approximately 10 kPa per metre of head (vertical drop). A tank outlet 10 metres above the trough provides ~100 kPa (1 bar) — adequate for most float valve systems up to 500m pipe run in 25mm poly pipe.
Practical distances: - 25mm poly pipe: adequate flow for a single trough up to 300–500m from the tank - 32mm poly pipe: up to 600–800m - 40mm poly pipe: 1km+
Long runs with small-diameter pipe cause pressure loss and slow refill rates — frustrating in hot weather when animals drain troughs quickly.
Paddock Location
The position of a trough within a paddock significantly influences how animals use the pasture:
Near the centre of the paddock: Encourages more even grazing distribution. Animals don't concentrate all activity near a fence-line corner. Requires piping to the middle of the paddock.
Near the fence line: Easier to pipe but concentrates animal activity along the fence. Over time this creates heavily grazed and pugged areas near the trough while distant parts of the paddock are undergrazed.
Near the corner: The worst option — concentrates all traffic at one point, leading to severe soil compaction, erosion, and pasture damage.
Best practice: Place troughs at least 100–200m from shade trees, supplement feeders, and other congregation points. This spreads grazing pressure across the paddock more evenly.
Shade and Sun Exposure
Troughs in full summer sun can reach 40–50°C in direct sunlight — animals drink less, algae blooms faster, and water evaporates more quickly. Where possible, provide shade over the trough (a simple shade cloth structure or nearby tree shade) without creating a congregation bottleneck.
Avoiding Wet Areas
Trough overflow and animal splashing creates perpetual mud around water points. Plan for: - A concrete pad (1.5m × 1.5m minimum) around the trough base — significantly reduces mud and hoof disease - A gravel or crushed rock apron (3m × 3m) around the concrete pad for additional drainage - A small earthen drain or cut leading away from the water point to direct overflow
A concrete pad around a trough is one of the best investments on a small farm — it reduces footrot risk in sheep and goats, cattle hoof problems, and the perpetual maintenance of muddy water points.
Float Valves: Automatic Refill Systems
A float valve is the mechanism that automatically refills the trough as animals drink it down. It is the single most important component of a functional water system and deserves careful selection and maintenance.
How Float Valves Work
A float (typically a plastic ball or cylinder) sits on the water surface. As the water level drops, the float drops, opening a valve that allows water to flow in. As the level rises back to the setpoint, the float rises and closes the valve. Simple, reliable, and almost entirely maintenance-free when quality components are used.
Types of Float Valves
Ball-style valves: The classic float — a ball on an arm connected to a valve seat. Inexpensive and widely available at rural stores and Bunnings. Adequate for light-duty applications. The arm can be bent to adjust the water level.
Torpedo or in-line float valves: A cylindrical float valve that fits inside a pipe fitting. More compact and often more reliable than ball valves in dusty or high-sediment conditions.
High-flow float valves: For large troughs and high-consumption situations. Standard ball valves may not refill troughs fast enough in high heat — high-flow valves with larger orifice diameters refill more quickly.
Livestock-grade float valves (e.g., Pegler, Philmac, Plasson): Quality commercial livestock float valves are significantly more robust than domestic plumbing valves. They are designed to withstand livestock contact, dusty environments, UV exposure, and constant cycling. Worth the premium cost.
Float Valve Installation
Install the float valve in a housing or pocket in the trough wall: - Position the valve at the desired water level (typically 10–15cm below the trough rim) - Connect to the supply pipe via a barbed fitting or threaded connection - Adjust the float arm to set the correct cut-off level - Check for smooth operation after filling
Protect the float: Livestock — particularly cattle, horses, and curious goats — will mouth, chew, and bite float valve mechanisms. A simple sheet metal or poly protective box over the float assembly significantly extends valve life.
Checking Float Valves
Check every float valve every time you walk past a trough — it takes 3 seconds to glance at the water level and confirm it's at the correct height. A valve jammed open wastes enormous water and can flood a paddock; a valve jammed closed leaves animals without water. Make it a habit.
Pipework: Poly Pipe, Fittings, and Pressure Management
Poly Pipe Selection
Polyethylene (poly) pipe is the standard for farm water systems in Australia. It is UV-resistant (black pipe), flexible, and easy to work with.
Pressure ratings: - PN6.3 (630 kPa): Adequate for most gravity-fed systems - PN9 (900 kPa): For pressurised pump systems - PN12.5 (1250 kPa): High-pressure applications
Diameter selection: - 20mm: Small systems, short runs, very low flow requirements - 25mm: The standard for small farm trough lines (up to 500m run for a single trough) - 32mm: Medium-length runs or multiple troughs on one line - 40mm or 50mm: Long mainlines, multiple troughs, or high-flow requirements
Burying Pipe
Above-ground poly pipe is vulnerable to UV degradation over time (even UV-stabilised black pipe eventually degrades), mechanical damage from vehicles and livestock, and temperature extremes (surface water in exposed pipe can reach 60°C+ in summer — scalding animals). Burying pipe is strongly recommended:
- Minimum depth: 300mm (to protect from surface damage)
- 450–600mm recommended in high-traffic areas or where vehicles cross
Connections and Fittings
Use quality poly pipe fittings throughout. Cheap fittings fail at the worst times. Reputable brands in Australia include Philmac, Plasson, and John Guest. Compression fittings (no tools required) or crimp fittings (requires crimp tool) are the standard approaches.
- Use Teflon tape on all threaded connections
- Install in-line shut-off valves at each trough connection (allows isolating individual troughs for maintenance without shutting down the whole system)
- Use a Y-strainer filter on the incoming line where sediment is a risk — prevents float valve blockages
Pressure Management
If your supply pressure is high (mains water or pressurised pump systems at above 400 kPa), install a pressure-reducing valve (PRV) before the float valve — most float valves are rated to a maximum of 400–500 kPa, and excess pressure causes premature valve failure.
Water Sources for Troughs
Your trough system is only as reliable as its supply source.
Rainwater Tanks
A common primary source on small farms, discussed in detail in our separate rainwater tank guide. Tanks supply via gravity (if elevated) or via a pump. Most farm water troughs are gravity-fed from tanks elevated on a stand.
Tank stand height: Every metre of elevation provides approximately 10 kPa of pressure. A stand of 2–3 metres provides 20–30 kPa — adequate for most float valves but marginal for long pipe runs. A 4–5m stand provides better pressure.
Bores and Groundwater
Bores (drilled wells) access groundwater and are a reliable supply where available. Bore water quality varies enormously — test for pH, salinity (total dissolved solids), sodium, nitrate, and hardness before installing a system. High-salinity bore water (above 4,000 mg/L TDS) reduces livestock performance; above 10,000 mg/L can be dangerous for some species.
Bores typically supply a pump which fills a header tank or supplies directly to a pressurised distribution system.
Dams
Farm dams are the most common water source on dryland small farms in southern Australia. Water is pumped from the dam to a tank or directly to troughs.
Don't allow direct dam access: Livestock accessing dams directly cause severe bank erosion, water quality degradation, and can trap themselves in soft mud. Instead, pump from the dam or install a gravity-fed pipeline from a well above the dam water level, and water livestock through troughs remote from the dam.
Mains Water
Town or scheme water is available to many peri-urban farms and is the most reliable supply but the most expensive on a per-litre basis. Install a water meter on your farm water line to monitor usage and detect leaks.
Algae Control in Troughs
Algae growth in farm water troughs is an almost universal problem in warm Australian conditions. Green or blue-green algae make water unpalatable to livestock and some species (blue-green/cyanobacteria) produce toxins that can be fatal.
Prevention: - Shade over the trough reduces light and slows algae growth dramatically - Regular flushing and scrubbing (weekly in summer) removes established algae - Black or dark-coloured troughs absorb more heat but exclude more light — a trade-off - Copper sulphate (bluestone) at 1g per 1,000L is a traditional algicide but is toxic to sheep at higher concentrations; use only at registered rates - Barley straw bundles in the trough (an old agricultural technique) decompose to produce hydrogen peroxide, which inhibits algae growth — natural and safe for livestock
Blue-green algae emergency: If you see blue-green algae (blue-green, red, or brown scum on the water surface, often with a paint-like appearance), immediately remove livestock from the water point, drain and clean the trough, and don't return livestock until the trough has been disinfected and refilled with clean water. Report suspected toxic algae in natural waterways to your state environment authority.
Frost and Cold Weather Management
In southern Australia, parts of Victoria, the ACT, and alpine regions, frost and sub-zero temperatures can cause significant problems with water infrastructure:
Preventing pipe freezing: - Bury pipes below frost depth (150–300mm in most Australian conditions; deeper in alpine areas) - Lag (insulate) exposed pipe sections with foam pipe lagging - Drain above-ground lines before hard frosts - Install frost-free taps at the lowest point of each line for drainage
Preventing trough freezing: - Float valves jam when frozen — the trough empties and doesn't refill, leaving animals without water - In regularly frozen areas, insulate the float valve housing - Rubber troughs flex as water expands during freezing and are less likely to crack than rigid poly - Ball float extensions (extending the float arm to keep the valve from freezing into the off position) are a practical fix
Installation: Step-by-Step
Here is a complete installation sequence for a basic farm trough fed by gravity from a tank:
- Plan the layout: Identify trough position, source location, pipe route. Measure distances and elevation change.
- Excavate the pipe trench: Dig to minimum 300mm depth (450mm in traffic areas). Mark the route clearly before digging.
- Install the supply line: Lay poly pipe in the trench. Use continuous lengths where possible to minimise joint failures. Install shut-off valve at each trough take-off.
- Prepare the trough site: Level and compact the site. Pour a concrete pad (minimum 1.2m × 1.2m × 100mm thick) with reinforcing mesh. Allow 48 hours to cure before placing the trough.
- Position the trough: Centre the trough on the concrete pad. If using a poly trough, partially fill with water before final positioning to prevent wind movement during setup.
- Connect the supply pipe: Connect the pipe to the trough float valve housing. Use appropriate fittings and Teflon tape on all threads.
- Install and adjust the float valve: Fit the float valve, set the cut-off level, and connect to the supply pipe.
- Test the system: Open the supply valve and allow the trough to fill. Check that the float valve cuts off at the correct level. Check all pipe connections for leaks.
- Backfill the trench: Replace excavated soil, compacting every 150mm. Mark the pipe route with star pickets at corners and junctions for future reference.
- Install access for maintenance: Fit a drainable plug in the trough base or a low-level drain valve for winter draining or cleaning.
Maintenance Schedule
| Frequency | Task |
|---|---|
| Daily | Visual check of water level in each trough |
| Weekly | Clean and scrub troughs (especially in summer); check float valve operation |
| Monthly | Inspect all visible pipe for damage; check concrete pad for cracking; flush sediment from line |
| Seasonally | Drain and fully clean each trough; check and replace worn float valve components; inspect for root intrusion on buried lines |
| Annually | Pressure test system; inspect tank supply connections; service any pumps |
Budget Guide
| Component | Approximate Cost |
|---|---|
| 200L poly trough | $80 – $150 |
| 600L poly trough | $200 – $350 |
| 1,000L poly trough | $350 – $550 |
| Livestock float valve (quality) | $25 – $60 |
| Float valve protection box | $15 – $30 DIY |
| 25mm poly pipe (per metre) | $1.50 – $2.50 |
| Concrete pad (1.2m × 1.2m, materials) | $60 – $120 |
| Crushed rock apron (3m × 3m) | $80 – $200 |
| Installation labour (contractor) | $60 – $100/hour |
A complete single trough installation (200L poly trough, concrete pad, float valve, 100m pipe run) can be done DIY for $300–$500 in materials. Contractor installation of the same would typically run $600–$1,200 including labour.
Summary
A well-designed farm water trough system is one of the most productive infrastructure investments on any small farm. Get the basics right — correct trough sizing, proper placement, quality float valves, adequate pipe diameter, and a concrete pad under the trough — and you'll dramatically reduce your daily management burden while ensuring your animals always have access to the clean, reliable water they need to produce at their best.
The cost of a properly installed water system is trivial compared to the production losses, animal health costs, and management time consumed by a poorly designed one. Plan carefully, use quality components, and check your troughs every day.