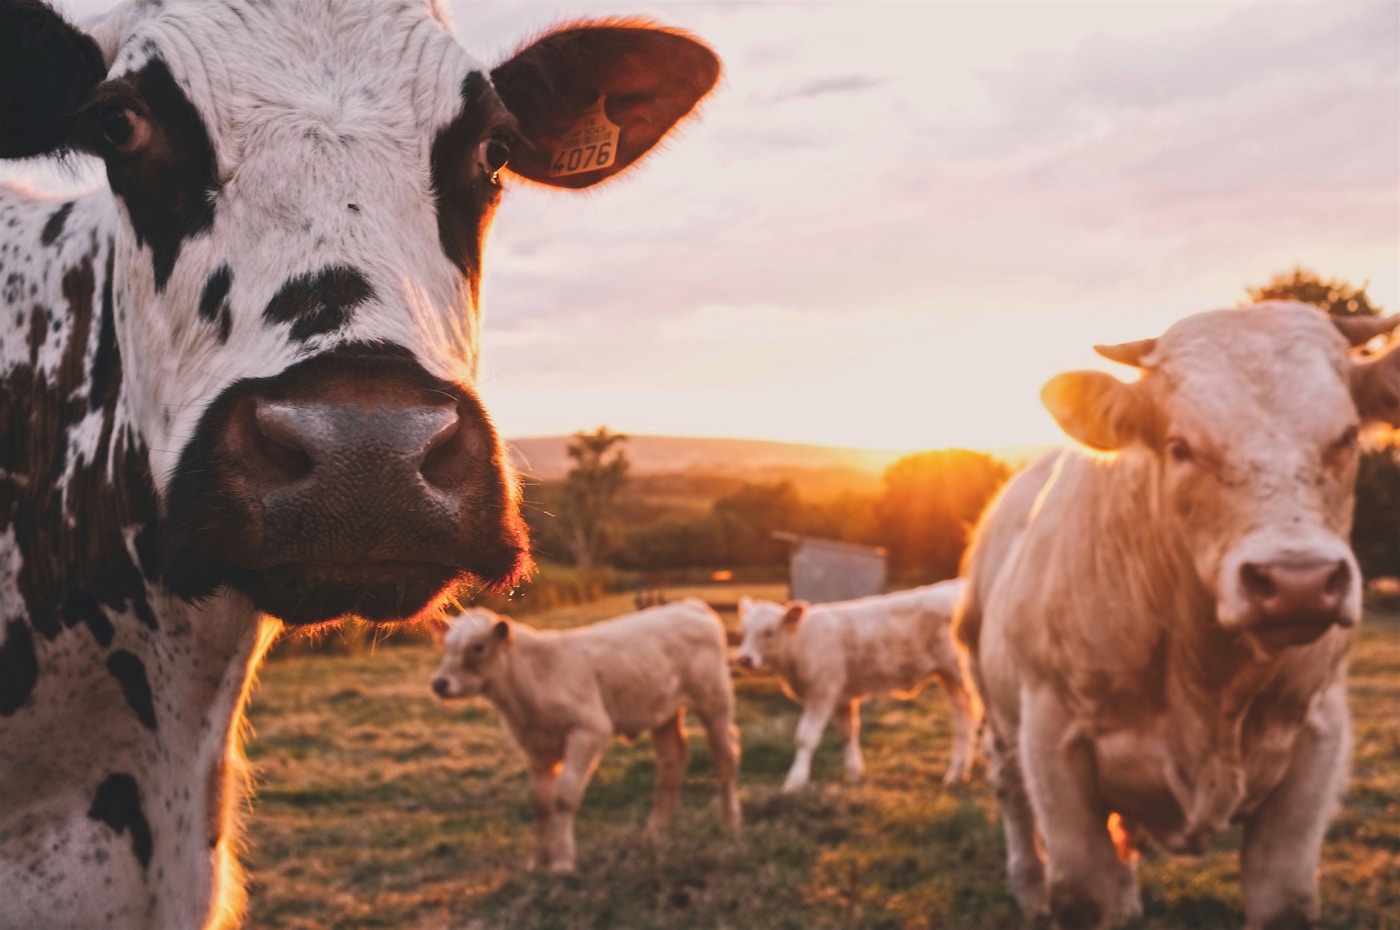
If there is one management practice that consistently separates productive, thriving small farms from struggling, degraded ones, it is rotational grazing. The difference between continuous grazing — turning animals into a paddock and leaving them there — and managed rotational…
If there is one management practice that consistently separates productive, thriving small farms from struggling, degraded ones, it is rotational grazing. The difference between continuous grazing — turning animals into a paddock and leaving them there — and managed rotational grazing is the difference between a farm that perpetually fights pasture degradation, high feed bills, and declining productivity, and one where pasture is actively improving, animal performance is strong, and the land gets better every year.
The concept behind rotational grazing is simple. The execution requires a bit of planning and a change in habit. But the returns — in pasture productivity, animal performance, weed reduction, soil health, and reduced supplementary feed costs — are among the highest available from any management change on an Australian small farm. This guide is a complete, practical introduction to rotational grazing for beginners.
What Is Rotational Grazing?
Rotational grazing is the practice of dividing your grazing land into multiple paddocks (or cells) and moving livestock through them in a planned sequence, allowing each paddock a period of rest and recovery after grazing before animals return.
Contrast this with continuous grazing, where the same animals occupy the same area year-round, eating whatever they choose whenever they choose it. In continuous grazing, preferred plants (the most palatable and productive species) are repeatedly defoliated before they can recover, their root reserves are depleted, and eventually they die. Weeds and less palatable species fill the gaps. The paddock's productivity declines, often permanently.
In rotational grazing, each paddock is grazed intensively for a defined period (the grazing period), then rested for a longer period (the rest period or recovery period) while animals are on other paddocks. During the rest period, plants regenerate from their root reserves, rebuild leaf area, recharge carbohydrate storage in roots, set seed (in annuals), and generally recover full productive capacity before being grazed again.
The result: better pasture, better animal nutrition, better land condition.
Why Plants Need Rest: The Science Behind Rotational Grazing
Understanding the biology of plant recovery makes the management principles self-evident.
How Grasses Recover After Grazing
When a grass plant is grazed, several things happen simultaneously:
- Leaf area is reduced: Less photosynthesis is possible immediately after grazing.
- Root growth temporarily stops: The plant redirects energy from root growth to shoot regrowth — rebuilding leaves for photosynthesis.
- Root carbohydrate reserves are drawn down: The plant uses stored energy (primarily fructans stored in the stem base) to fuel initial regrowth before enough leaf area is restored for photosynthesis to take over.
- A recovery period begins: Over 2–6 weeks (depending on species, temperature, moisture, and soil fertility), the plant rebuilds its leaf area and refills root carbohydrate reserves.
The critical insight is in step 3. If the plant is grazed again before its root carbohydrate reserves are refilled — before it has had adequate rest — the next regrowth is slower, less vigorous, and the plant is weakened. Repeated premature grazing progressively depletes root reserves until the plant dies.
Continuous grazing allows animals to selectively re-graze their preferred plants before those plants have recovered. The most palatable, productive species suffer most. The less palatable, less productive species (weeds and rank native grasses) survive because animals don't preferentially eat them. The result, over time, is a pasture dominated by undesirable species.
The Growth Curve
After grazing, plant growth follows an S-curve: - Slow initial phase: Carbohydrate reserves are being used for initial shoot growth; growth rate is slow - Rapid growth phase: Once adequate leaf area is restored, photosynthesis accelerates growth dramatically — this is the period of highest pasture production per day - Slowing and senescence phase: As the plant reaches maturity, growth slows and quality declines as stem and seed head proportion increases
The ideal grazing moment is at the peak of the rapid growth phase — when there is maximum quality and quantity of feed available. Grazing too early (before recovery is complete) sacrifices yield and harms the plant. Grazing too late (after the sward has moved into senescence) sacrifices feed quality as stems become dominant.
This is why the rest period in rotational grazing is not a fixed calendar interval — it varies with the growth rate of the pasture, which in turn varies with temperature, moisture, and fertility. In fast-growing spring conditions in a well-fertilised temperate pasture, plants may be ready for regrazing in 3–4 weeks. In a dry autumn when growth is slow, plants may need 8–12 weeks.
Key Terms and Concepts
Grazing Period
The time animals spend in a single paddock before being moved. In most small farm rotational systems, this is 3–7 days. In intensive high-intensity rotational systems (mob grazing or ultra-high density grazing), it may be just 12–24 hours.
General rule: The shorter the grazing period, the more uniform the grazing, the less selective the animals can be, and the greater the regrowth consistency across the paddock.
Rest Period (Recovery Period)
The time a paddock is rested after grazing before animals return. This is the most important variable in your rotational system and the one that most beginners get wrong — they rest paddocks for too short a time and don't allow full plant recovery.
Rest period calculation: Rest period = (Number of paddocks - 1) × Grazing period
Example: 6 paddocks, 5-day grazing period → Rest period = (6-1) × 5 = 25 days
As growth rate changes seasonally, you adjust rest periods by changing either the number of paddocks in the rotation (including or excluding some), the grazing period length, or the number of animals.
Stocking Rate
The number of animals per unit area — the fundamental input that determines grazing pressure. Rotational grazing doesn't allow you to overstock; it allows you to better use the feed available. If stocking rate is too high, short paddock rotations leave each paddock insufficient time to recover and the system degrades.
Pasture Cover
The amount of dry matter per hectare above ground. Measured with a pasture plate meter (a simple, inexpensive tool that measures pasture height, which correlates to dry matter content), by visual assessment, or by rising plate meter.
Key thresholds: - Pre-graze target: 2,500–3,500 kg DM/ha for most temperate pastures (the "full glass" of feed available) - Post-graze target: 1,200–1,500 kg DM/ha residual (the "quarter glass" remaining — don't graze below this) - Critical minimum: Below 800–1,000 kg DM/ha, significant damage to the plant base occurs
These thresholds guide when to put animals into a paddock (pre-graze target reached) and when to move them out (post-graze target reached), rather than using a fixed calendar.
Dry Matter (DM)
All pasture feed quantities are expressed as dry matter — the residual weight after water is removed. Fresh green pasture is approximately 75–85% water, so 1 kg DM of lush pasture is actually 4–6 kg of fresh material. Understanding DM is essential for comparing feed quantities across seasons and feed types.
How Many Paddocks Do You Need?
The minimum number of paddocks for rotational grazing is 4, though 5–8 is more practical and flexible for most small farm situations. The number determines the possible rest period for any given grazing period:
| Number of Paddocks | Rest Period (with 5-day graze) | Seasonal Suitability |
|---|---|---|
| 3 | 10 days | Marginal — insufficient rest in most seasons |
| 4 | 15 days | Minimum viable in spring; insufficient in other seasons |
| 5 | 20 days | Workable in fast-growing spring |
| 6 | 25 days | Good — adequate rest in most conditions |
| 8 | 35 days | Excellent — allows full recovery in most seasons |
| 10–12 | 45–55 days | Ideal — allows very long rest periods when needed |
More paddocks give you more management flexibility. You can skip paddocks from the rotation (resting them longer) in slow-growth periods, take paddocks out for hay or conservation, or manage different paddocks for specific purposes (lambing paddock, irrigation, establishment block).
For a small farm just starting with rotational grazing, 6 paddocks is a good starting point — enough flexibility without excessive fencing investment.
Planning Your Paddock Layout
Assess Your Property
Walk your property and note: - Existing fence lines (what paddocks already exist?) - Natural divisions (creeks, drainage lines, slopes) - Water points (where are troughs? Are all areas within 500m of water?) - Soil and pasture variability (some areas may be more or less productive — don't mix very different areas in the same rotation)
Design the Cell System
A cell grazing layout is typically based on a central laneway or race from which all paddocks radiate. This allows animals to be moved efficiently from one paddock to another without travelling through adjacent paddocks, and allows the water point to be centrally located serving all paddocks.
Basic cell design: - Central water point accessible from all paddocks (or very short distances to water from each paddock) - Paddocks of roughly equal size (so each contains a roughly equal amount of feed) - A central race or laneway for moving animals - All paddock gates accessible from the race
Paddock shape: Irregular paddock shapes aren't a problem. Square or rectangular paddocks are easiest to plan for, but work with your terrain and existing fences.
Paddock Size Calculation
Paddock size = (Number of animals × Daily DM demand × Grazing days) ÷ Pre-graze cover
Example: 100 dry ewes at 1.2 kg DM/day × 5-day graze = 600 kg DM needed Pre-graze cover of 2,500 kg DM/ha → 600 ÷ 2,500 = 0.24 ha per paddock
For 6 paddocks of this size: 6 × 0.24 ha = 1.44 ha total grazing area
This calculation assumes consistent pre-graze covers. In practice, paddock size needs to be adjusted seasonally or the grazing period adjusted to match available feed.
Fencing for Rotational Grazing
Permanent vs. Temporary Fencing
Permanent fencing — star pickets or wooden posts with plain wire or ringlock — creates the long-term cell structure. This is the skeleton of your system. Invest in quality permanent fencing for the main paddock boundaries and the central race. Well-constructed permanent fencing lasts 20–30+ years.
Temporary electric fencing allows you to subdivide paddocks more finely during fast-growing periods (when you want smaller paddock sizes to maintain appropriate grazing pressure) or to set aside parts of paddocks for spelling or conservation.
Electric tape or polywire on fibreglass or plastic posts is quick to erect and remove, inexpensive, and highly effective when properly energised.
Electric Fencing for Rotational Grazing
Electric fencing is the enabler of cost-effective rotational grazing on small farms. Strands of electric tape or wire, powered by a mains or solar-powered energiser, train animals to respect a single or double-strand boundary without heavy physical fencing.
Electric fence basics: - Energiser: Size to your total wire length. A quality energiser (Gallagher, AgraTronix, JVA) with adequate joule output is essential — underspecified energisers produce inadequate shock and animals learn to ignore them. - Earthing: The most common cause of electric fence failure. Install a minimum of 3 earth stakes driven 1.5m into moist soil, connected by earthing wire to the energiser earth terminal. - Voltage: Minimum 3,000V (3 kV) on the fence for reliable stock control; 5,000–8,000V is better, particularly in dry conditions. - Wire or tape: Polywire (strands of conductive wire within a visible plastic carrier) is most common for temporary fencing. Electric tape is more visible and useful for horses or in areas where visibility matters.
Training animals to electric fencing: Before expecting animals to respect an electric fence in a paddock, train them in a small yard with one electric wire they can touch in a safe environment. A mild shock in a controlled situation teaches them to avoid the wire. Most cattle, sheep, and goats learn to respect a well-energised electric fence within a day or two of exposure.
Moving Animals: The Practical Management
Timing of Moves
Move animals based on post-graze residual, not on a fixed calendar:
- Walk the current paddock and assess average pasture height or cover
- When residual approaches the post-graze target (1,200–1,500 kg DM/ha in most temperate systems — approximately 3–4 cm average height in ryegrass/clover), it's time to move
- Move animals to the next paddock in the rotation and let the vacated paddock rest
During fast growth (spring), you may be moving every 2–3 days to keep up with pasture. During slow growth (dry summer or winter), you may graze each paddock for 7–10 days to avoid "running out of paddocks" before rest periods are adequate.
The Adjustment — Moving Animals Faster or Slower
The most common mistake beginners make is either: - Moving too slowly (animals graze paddocks below the post-graze target, damaging pasture plants and reducing recovery), or - Moving too fast (paddocks don't reach the pre-graze target before animals return, so animals are getting inadequate feed)
Both are corrected by adjusting the number of animals, the paddock size, or the grazing period. This is the active management skill at the heart of rotational grazing — matching animal numbers to feed availability in real time.
Skipping Paddocks
In fast-growing spring, if paddocks are growing faster than animals can graze them before they become rank (too stemmy and mature), skip some paddocks from the rotation and cut them for hay or silage while continuing to graze the others. This prevents the whole system from getting "out of phase" with fast spring growth.
Conversely, in very slow growth periods, add extra paddocks to the rotation (if available), or reduce animal numbers temporarily (agist, sell, or wean early) to give each paddock a longer rest.
Practical Benefits You'll See
Most beginners who implement rotational grazing properly report significant improvements within 6–12 months:
More pasture per hectare: Not because magic has happened, but because plants recover properly between grazing events and produce more total dry matter per year. Studies consistently show 20–40% higher pasture production under well-managed rotational grazing compared to continuous grazing at the same stocking rate.
Better pasture composition: Rest periods allow preferred species to recover and compete effectively. The proportion of palatable productive species (clovers, ryegrass, phalaris) increases as weeds and rank species are crowded out by healthy sward. This is a slow process (2–4 years) but highly noticeable.
Fewer weeds: Healthy, dense pasture is the best weed prevention. Rotational grazing that maintains good ground cover reduces weed germination opportunities.
Better animal performance: Animals on fresh, rested pasture in the vegetative growth stage are consuming higher-quality feed than animals on a continuously grazed paddock where quality varies enormously across the paddock. Better feed quality → better animal condition and production.
Reduced supplementary feed costs: More productive pasture and better utilisation of that pasture reduces the quantity and duration of supplementary feeding required. Many farmers reduce hay or grain use by 20–40% after implementing rotational grazing.
Improved soil health: Periods of rest allow root systems to develop more extensively; alternating grazing and rest improves organic matter inputs and soil biological activity. Healthy soil grows more grass.
Common Mistakes to Avoid
Mistake 1: Not providing enough paddocks Three or four paddocks is insufficient for proper rest periods in most situations. Aim for 6–8 as a minimum.
Mistake 2: Using fixed calendar-based rotation Moving animals every Monday regardless of pasture condition misses the whole point. Move based on pasture residual targets, not the calendar.
Mistake 3: Overgrazing in the rotation Grazing below the post-graze target damages plant root systems just as badly as continuous grazing. Have the discipline to move animals before the paddock is eaten out.
Mistake 4: Ignoring rest periods in spring Fast spring growth means paddocks quickly exceed pre-graze targets. If animals are rotating too slowly to keep up, cut some paddocks for hay or silage rather than letting them become rank.
Mistake 5: Poor electric fence earthing An electric fence that doesn't shock reliably trains animals to ignore it. Invest in adequate earthing and check the energiser voltage regularly with a fence tester.
Mistake 6: Expecting instant results Rotational grazing improves pasture over 2–4 years, not 2–4 weeks. The most degraded paddocks take longest to recover. Stay the course.
Mistake 7: Forgetting water Every paddock must have reliable water. Animals won't stay in a paddock without water, regardless of fencing. Ensure each paddock has trough access before implementing the rotation.
Starting Your Rotational Grazing System: A Step-by-Step Guide
Step 1: Map your property Draw a simple map showing existing fences, water points, and major features.
Step 2: Design your paddock system Decide how many paddocks you'll create. Plan the central race and water points. Identify which new fences are needed.
Step 3: Assess your pasture Walk all paddocks and assess current species composition, ground cover, and presence of weeds. Note the best and worst-performing areas.
Step 4: Establish water in all paddocks Before animals start rotating, every paddock must have reliable water access. This may involve new trough installations or pipe extensions.
Step 5: Fence your paddock system Install permanent fencing for the main paddock boundaries and central race. Use temporary electric fencing for initial subdivision if budget limits immediate permanent fencing.
Step 6: Calculate your stocking rate Estimate your total available pasture (ha) × estimated carrying capacity (DSE/ha) = maximum animal numbers the system can carry. Start at 70–80% of estimated carrying capacity to allow a buffer while you learn the system.
Step 7: Begin rotating Put all animals in Paddock 1. Monitor daily and move when the post-graze residual target is reached. Continue through Paddock 2, 3, etc.
Step 8: Keep records A simple notebook — paddock entry and exit dates, pasture height on entry and exit, animal condition score, weather notes — is invaluable for learning your system's seasonal patterns.
Step 9: Adjust as you learn Your first year is a learning year. You'll make mistakes. The system will teach you. By your second year, your decisions will be more intuitive and your pasture will be noticeably better.
Cost of Implementation
| Component | Approximate Cost |
|---|---|
| Permanent stock fence (per metre, installed contractor) | $15–$30/m |
| Electric fence tape or polywire (per metre) | $0.10–$0.30/m |
| Fibreglass temporary posts | $3–$8 each |
| Quality solar energiser (5 joule) | $300–$600 |
| Water trough installation per paddock | $300–$600 (see water trough guide) |
| Pasture plate meter | $300–$500 |
| Agronomist consultation (1 day) | $400–$1,000 |
For a small farm setting up 6 paddocks on 10 hectares with new permanent race fencing and 2 new water points:
- New permanent fencing (race + 3 internal fences @ average 200m each × $20/m): $12,000
- 2 new trough installations: $1,200
- Energiser and temporary fencing kit: $600
- Pasture plate meter: $400
- Total: approximately $14,200
This is a meaningful investment, but one that typically pays back within 2–3 years through reduced feed costs, better animal performance, and improved carrying capacity.
Resources for Australian Rotational Grazing
- Meat & Livestock Australia (MLA): The MLA's Grazing Land Management resources include the Pasture Benchmarking tool, Pasture Management workshops, and the Producer Demonstration Sites network. Free resources at mla.com.au
- Agriculture Victoria: 'Pastures for Profit' — a comprehensive guide to pasture management in Victoria; available as a free PDF
- NSW DPI: 'Tropical Pasture Management' and temperate pasture publications
- GRDC: Pasture management resources for grains-sheep mixed farming systems
- Local agronomists: The most valuable resource of all — a local agronomist who knows your soil, your rainfall, and your nearest markets will give you advice that no national publication can match
Summary
Rotational grazing is not complicated. It is essentially the application of a simple biological truth — plants need time to recover after grazing — to your farm management system. The more faithfully you respect the recovery needs of your pasture, the better it performs; the better your pasture performs, the better your animals perform; the better your animals perform, the more productive and profitable your farm becomes.
The shift from continuous grazing to a well-managed rotational system typically takes 2–3 years to fully implement and for benefits to be fully visible. But farmers who make that transition consistently report that it was the single most transformative management change they ever made on their property.
Plan your paddocks, fence them properly, provide water in every cell, move animals based on pasture condition not the calendar, and give your pasture the rest it needs. The land will do the rest.
📖 Explore the Full Guides